+39.0362.682.683 - Mon-Fri 9:00-13:00 / 14:30-18:30
[email protected]

How to Take Photos
This brief and simple How-to guide has been written with the purpose to help you take, in the most correct way, the photos we will request you during those rare cases of defects or anomalies.
The photos shown in this page represent extreme situations with the sole purpose of showing you how to take the requested photos. The situations here shown are very rare since diotti.com only sells products which undergo strict quality checks. Moreover diotti.com mostly ship with furniture specialized carriers.
If photos are taken in the correct way, as indicated in this guide, we can proceed with a possible replacement faster. Customers need to follow these simple but essential rules:
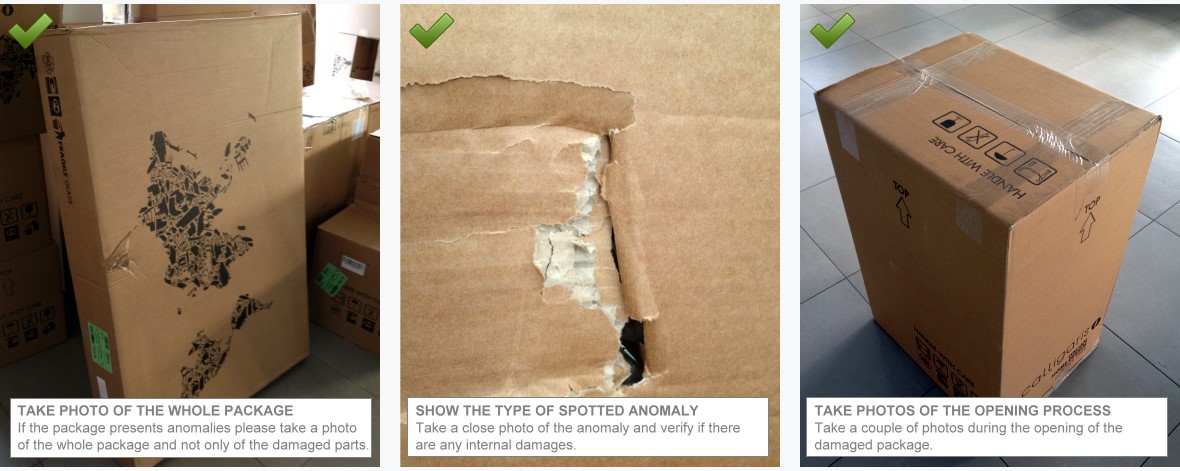
Photos of the Packages
As already stressed in our Procedure for the Reception and Verification of the products, it is fundamental to take photos of the whole package before opening it (even if you've pointed out on the freight bill the damage). Please take several photos, close in time, of the damaged part of the package and also take a couple of photos during the opening process with the products still packed.
Photos of the Details
Take at least two photos for every anomaly: a first photo needs to be taken from a certain distance, in order to show the affected part (for example a drawer, a lateral panel, etc...), than take another close-up one making sure that all details of the anomaly are in focus (view the following paragraph).
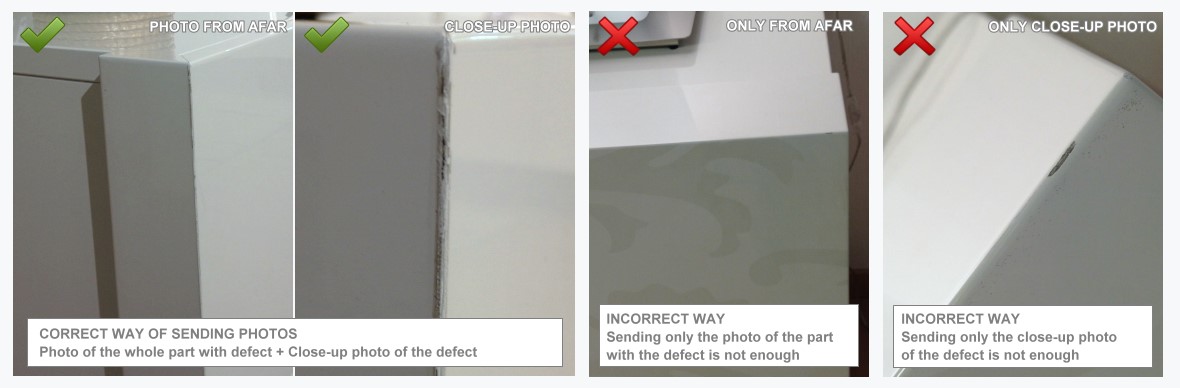
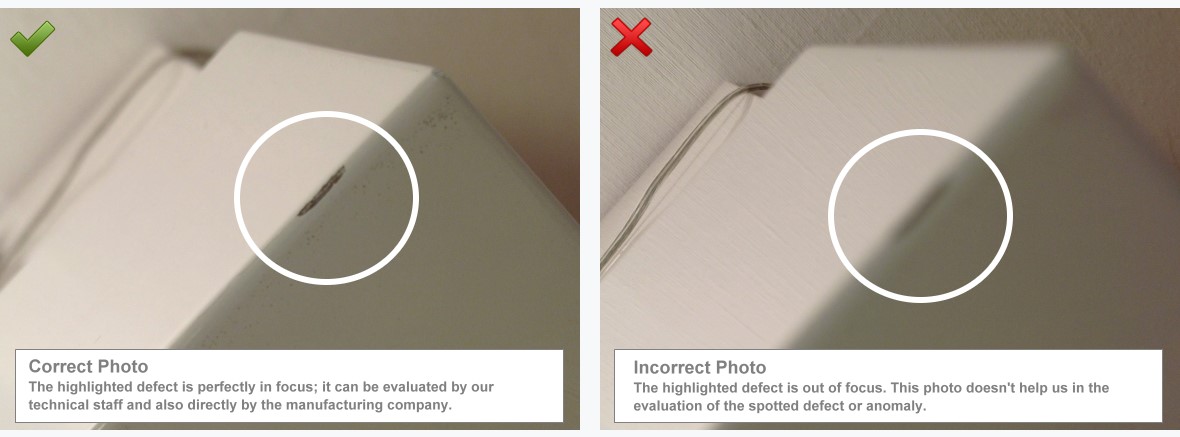
Close-up photos of the details have to be perfectly in focus. This is a fundamental point in order to proceed with a possible replacement of the affected part.
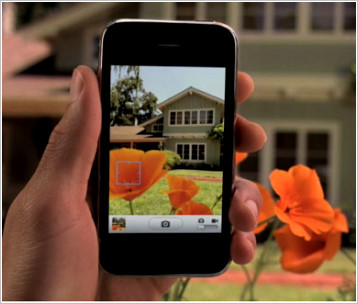
Help and Suggestions on the Focusing Process
Nowadays it is very simple to have at disposal devices which can take good quality photos. It is however more difficult to take photos at a very reduced distance. Here below you can find some suggestions on how to take good photos in these cases as well and with different kind of cameras.
 |
 |
 |
||
|
Touch Screen Mobile Phones |
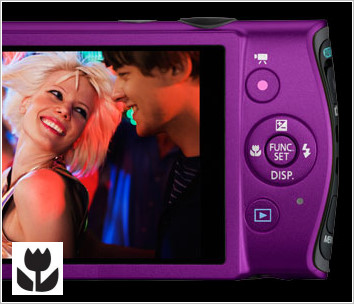
Compact Digital Cameras |
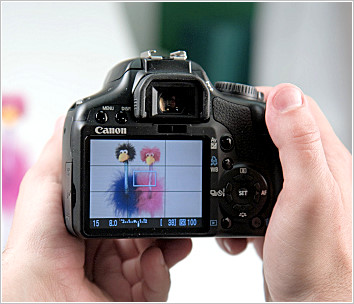
Professional Cameras |